
Introduction
Swapping a commercial exterior door isn't like hanging a door at home. Every opening has to function as one assembly that coordinates:
- Frame, threshold, and weather barrier
- Hardware and accessibility clearances
- Security requirements
- Fire-rated or electronic access-control systems when required
Trained commercial door installers, qualified contractors, or experienced in-house maintenance teams should handle this work. That matters most when the opening is fire-rated, access-controlled, unusually large, or structurally compromised.
Get it wrong and you'll see binding doors, water intrusion, air leakage, poor latching, early hardware failure, security gaps, and expensive rework. Some mistakes void warranties or trigger code violations.
This guide walks through assessing the opening, verifying your door and hardware package, preparing the site, installing and aligning the assembly, integrating accessories, and documenting final testing.
Key Takeaways
- Coordinate the frame, threshold, seals, closer, lockset, and access control, not just hang a slab
- Confirm measurements, handing, swing, fire rating, and hardware schedule before ordering anything
- A finished job passes structural, weather, operational, security, and fire-door validation
- Bring in a specialist for rated assemblies, electronic access control, or structural repairs
Installation Guide for a Commercial Exterior Door
The work generally breaks into four phases: preparation, placement and fastening, hardware and system integration, and post-installation validation.
How long each phase takes depends on whether you're replacing an existing door or building a new opening, the door material and size, substrate condition, how many leaves are involved, and whether closers, panic hardware, or electronic access control are part of the package.
Prerequisites and Safety Considerations
Before anyone picks up a drill, confirm the scope. Is this a new opening or a replacement? Single door or double? Steel, aluminum, glass, or another commercial system? Does it carry fire, smoke, security, or accessibility requirements?
Verify opening dimensions and condition, including width, height, wall thickness, sill condition, plumb, level, square, structural support, and clearance for the frame and threshold. Then match every component (door, frame, hinges or pivots, lockset, closer, threshold, weatherstripping, glazing, panic hardware, and electronic components) against the approved drawings and hardware schedule.
Accessibility requirements need a close check. ADA's 2010 Standards set a minimum 32-inch clear opening width and specify maneuvering clearances on both the pull side and push side of the door. Measuring the wrong dimension now means reordering hardware later.
Site readiness matters just as much:
- Clear obstructions and protect occupied areas
- Plan safe material handling for heavy commercial door assemblies
- Check weather conditions and power availability
- Coordinate with masonry, framing, flooring, electrical, and security trades
Stop work if: the opening is unstable, measurements conflict with the ordered assembly, required labels or hardware are missing, the substrate can't support the fasteners, or manufacturer and code requirements aren't clear. Never improvise modifications to fire-rated doors or frames, panic hardware, or access-control equipment. Get manufacturer or professional guidance instead.
Tools and Parts Required
Most jobs need a core set of general tools:
- Tape measure, level, square, and shims
- Drill with manufacturer-approved bits and fasteners
- Screwdrivers, supports or wedges, and lifting assistance
- Sealants, flashing or sill membrane, and insulation
- Safety glasses, gloves, and hearing protection
Job-specific components are separate from your tool kit. These typically include the door and frame, threshold, hinges or pivots, closer, lockset, strike, panic device, weather seals, glazing, kick plate, and any specified access-control hardware.
Heavy commercial assemblies, masonry or steel substrates, fire-door inspection, electrified hardware, and access-control commissioning often call for specialized tools or testing equipment. Substitute tools only when the manufacturer specifically permits it. On a fire-rated or glazed assembly, there's often no acceptable workaround.
How to Install a Commercial Exterior Door Step-by-Step
The sequence below is a high-level best-practice framework. It doesn't replace the product manual, approved submittals, applicable building requirements, or qualified supervision on your specific project.

Prepare and Inspect the Opening
Remove the existing door, frame, trim, and failed sealants without damaging the surrounding wall or sill. Clean the opening and repair any damaged framing, masonry, sheathing, flooring, or sill surfaces so the new frame sits on a stable, level, properly supported base.
Before applying any permanent fasteners, dry-fit the frame and threshold. Dry-fitting reveals obstructions, insufficient wall clearance, uneven flooring, or trim conflicts while they're still cheap to fix.
Install the Sill, Frame, and Weather Barrier
Install the specified sill pan, flashing, waterproofing membrane, sealant, insulation, and drainage details in the correct order. Water needs to move away from the building, not pool inside the opening.
Position the frame plumb, square, and level using approved shims and fasteners at the manufacturer's specified anchor points, without distorting the jambs or head. Confirm that the frame ties securely to the surrounding structure and that threshold height and slope support weather performance, accessibility, and door clearance.
Hang and Align the Door
Identify the top, handing, and swing before lifting the door. Commercial doors and glazed assemblies are heavy and awkward. Plan for adequate support rather than muscling the unit into place.
Attach hinges, pivots, or continuous hinges using supplied or approved fasteners, starting at the correct hinge location and avoiding overtightened or stripped threads. Adjust the door until reveals are consistent, the slab clears the frame and threshold evenly, and it swings freely without rubbing or binding.
Install Mechanical and Electronic Hardware
Install hardware per the approved schedule, including:
- Lockset, strike, and closer
- Panic or exit device
- Weatherstripping, sweep, and kick plate
- Glazing components where specified
Treat electrified locks, request-to-exit devices, door position switches, and card readers as integrated systems coordinated with electrical and security trades, not bolt-on extras.
This integration isn't optional for code compliance. Under the 2024 International Building Code, certain electrified locking arrangements must unlock immediately when the hardware releases or when power is lost, and where panic hardware is required, operating it must also release the electric lock.
Select and adjust the closer for the door's size, weight, and traffic level. It should close and latch reliably with no slamming and no excessive opening force.
Seal, Finish, and Protect the Installation
Apply compatible perimeter sealants and insulation around the frame while preserving the manufacturer's drainage and weep paths. Install trim, threshold sealants, weather seals, and finish materials without blocking door swing, drainage, hardware, or inspection points.
Finally, protect the completed assembly from construction damage and remove filings, debris, labels, and temporary supports before commissioning.
Post-Installation Checks and Validation
A door isn't finished just because it closes. Run through a full validation before calling the job done:
- Visual and structural check: frame alignment, fastener placement, shims, threshold seating, sealant continuity, weather seals, glazing, finish quality, no gaps or distortion
- Operational test: cycle the door through its full swing repeatedly; it should open freely, close at a controlled speed, latch fully, and never rub the frame, threshold, floor, or seals
- Accessibility test: clearances, opening force, threshold transitions, and hardware reach against your project requirements
- Security and life-safety test: panic release, locked/unlocked states, card-reader response, door position monitoring, and fire-alarm or access-control interfaces
- Exterior performance check: perimeter seals, sill drainage, water-shedding details, and visible light or air gaps
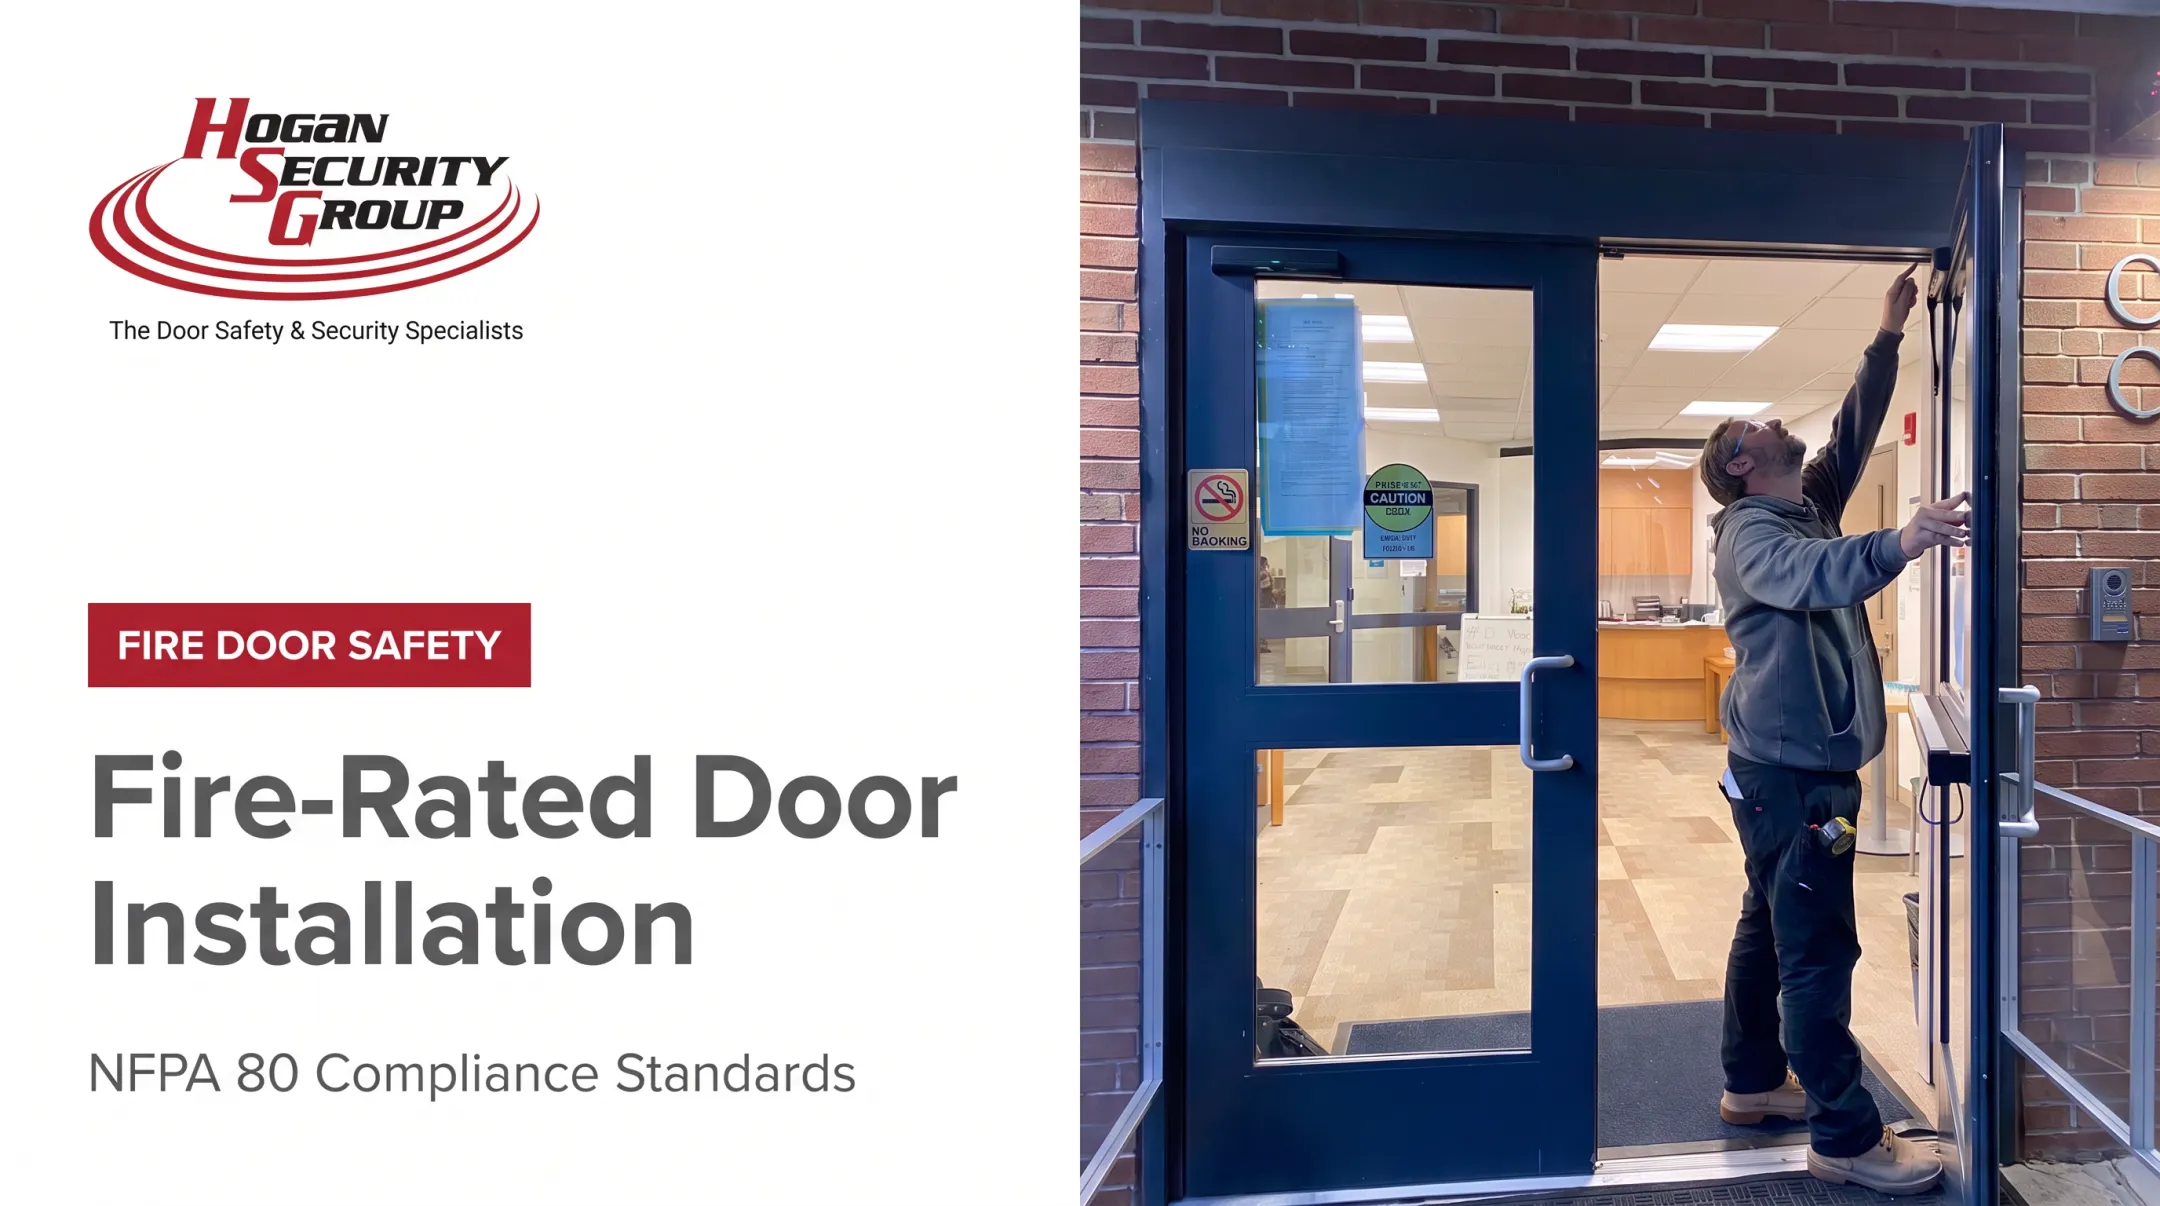
Fire-rated openings carry an added obligation. NFPA guidance requires inspection and testing immediately after installation and at least annually afterward, performed by a qualified person, with a signed written record kept for the Authority Having Jurisdiction.
Close out the job by recording measurements, adjustments, hardware settings, test results, warranties, product manuals, as-built information, and owner sign-off. Future maintenance teams will need this.
Common Installation Problems and Fixes
Most early failures trace back to incorrect opening preparation, poor alignment, incompatible hardware, or skipped testing.
Issue 1: The Door Binds, Rubs, Sags, or Won't Close
Problem: The slab contacts the frame, threshold, floor, or seals, or the closer can't bring the door fully shut.
Likely causes:
- Out-of-plumb or out-of-square opening
- Missing or misplaced shims
- Mismatched hinges
- Threshold set too high
- Closer wrong for the door
Fix: Recheck frame geometry and support, verify hinge and hardware compatibility, and correct alignment through approved adjustments. Never remove material from a rated assembly without manufacturer authorization.
Issue 2: Water, Air, Light, or Insects Enter Around the Opening
Problem: The exterior door leaks, or the space near the perimeter feels drafty or damp.
Likely causes:
- Incomplete sill flashing
- Broken sealant line
- Blocked drainage
- Compressed or damaged weatherstripping
- Poorly seated threshold
- Wall movement
Fix: Trace the full water-shedding path from head to sill. Repair flashing and sealant per approved details, restore drainage, and replace damaged seals. Surface caulk alone won't solve a flashing problem.
Issue 3: The Lock, Panic Device, or Access-Control System Fails
Problem: The latch misses the strike, the exit device won't release correctly, the reader won't unlock, or the system reports the wrong door status.
Likely causes:
- Misalignment or wrong handing
- Incompatible components
- Obstructed wiring or inadequate power
- Bad programming
- Door not fully closing
Fix: Separate mechanical alignment from electrical or programming faults. Verify the hardware schedule and wiring, then retest the full door sequence with the relevant trades and the owner's representative.

Pro Tips for Installing a Commercial Exterior Door Effectively
A few habits separate smooth installations from constant callbacks:
- Verify the full package before delivery: match labels, opening numbers, drawings, dimensions, handing, swing, frame depth, hardware, glazing, finish, and ratings to the submittals
- Time the work carefully: schedule after wet or dusty trades finish, before flooring and finishes block access; protect occupied sites with a shutdown plan, temporary security, and pedestrian routing
- Dry-fit before permanent fastening: catching a flooring or threshold conflict before the frame is sealed is far cheaper than fixing it after
- Treat the door as a system: weatherproofing, accessibility, fire and life safety, locksmith hardware, access control, and alarm interfaces all need coordination before final commissioning
- Keep records: photos of concealed work, product information, adjustments, test results, and owner training all matter for warranty claims and future replacement planning
Some projects genuinely call for a specialist: fire-rated openings, heavy or glazed doors, double-door sets, structural repairs, electrified hardware, or high-security requirements. Hogan Security Group works as a door safety and security specialist that engineers, supplies, installs, and services integrated door solutions, including access control, locksmith work, and fire-door inspection, for facilities that need that level of coordination.

Conclusion
A commercial exterior door has to go in as one coordinated assembly, not a slab bolted onto an opening. Alignment, weatherproofing, hardware compatibility, accessibility, security, and life-safety validation all affect how well it performs for years afterward.
Before you close out the job:
- Confirm specifications before ordering
- Follow the manufacturer's installation requirements
- Document your final testing
When a project goes beyond routine maintenance, bring in a qualified commercial door professional rather than guessing.
Frequently Asked Questions
How much does it cost to install a commercial exterior door?
Door and frame material, size, glazing, hardware, opening repairs, weatherproofing, and access control all affect price, and new openings usually cost more than replacements. Request a site-specific estimate instead of a general range.
How much does labor cost to install a commercial exterior door?
Labor varies with opening condition, door weight, accessibility needs, hardware complexity, removal and disposal, substrate type, and testing requirements. A solid quote separates installation, repair, hardware, electrical, and finish work.
How much does it cost to install commercial double doors?
Double-door projects need extra coordination for two leaves, meeting stiles, astragals, hinges or pivots, closers, panic hardware, and threshold alignment. Price the complete assembly, not just the slabs.
What is the standard size for a commercial entrance door?
There is no single standard size. Clear opening needs, wall conditions, accessibility, and traffic volume set the right width and height, so field measure before you order.
How wide should commercial double doors be?
Required width depends on the intended clear opening, occupancy and egress requirements, accessibility, and traffic flow. Check your project drawings and applicable adopted codes rather than guessing.
Do commercial exterior doors swing in or out?
Egress rules, occupancy, accessibility, security, and site conditions set the swing. Confirm handing and swing during design; changing them during installation creates costly rework.