
Many facility managers assume this is a drop-in hardware swap. It isn't. A misaligned strike or an incompatible device on a fire-rated door can invalidate the door's fire listing, cause latch failures, or trigger a failed inspection months later.
That's why trained commercial door, locksmith, or fire-door technicians should handle this work, especially on fire-rated openings, electrified devices, paired doors, or any opening subject to routine inspection. Get it wrong and you risk difficult egress, false alarms, premature wear, and costly rework.
This guide walks through assessing the opening, selecting compatible hardware, installing and integrating the device, then testing and documenting the finished job.
Key Takeaways
- Verify door, frame, fire rating, and handing compatibility before drilling anything
- Confirm current manufacturer instructions against IBC, NFPA, and ADA requirements with your AHJ
- Prioritize accurate positioning, secure mounting, and proper strike alignment
- Coordinate electrified, alarmed, or access-controlled devices with qualified technicians
- Document every test result and deficiency for future inspections
Installation Guide for Exit Door Push Bars and Panic Hardware
A complete installation runs through four stages:
- Assessing and preparing the opening
- Selecting and placing hardware
- Integrating mechanical or electrical components
- Validating the finished work
Timelines vary significantly. A standard mechanical device on a single non-rated door might take a few hours. An electrified exit device tied to access control on a fire-rated pair of doors, with frame repairs needed, can stretch across multiple visits and require coordination with electricians and fire-alarm vendors.
Prerequisites and Safety Considerations
Before ordering or mounting anything, assess the full opening:
- Door material, dimensions, handing, and swing direction
- Frame condition, clearances, and threshold type
- Existing closer, hinges, lock or latch hardware
- Glazing, weatherstripping, and exit signage
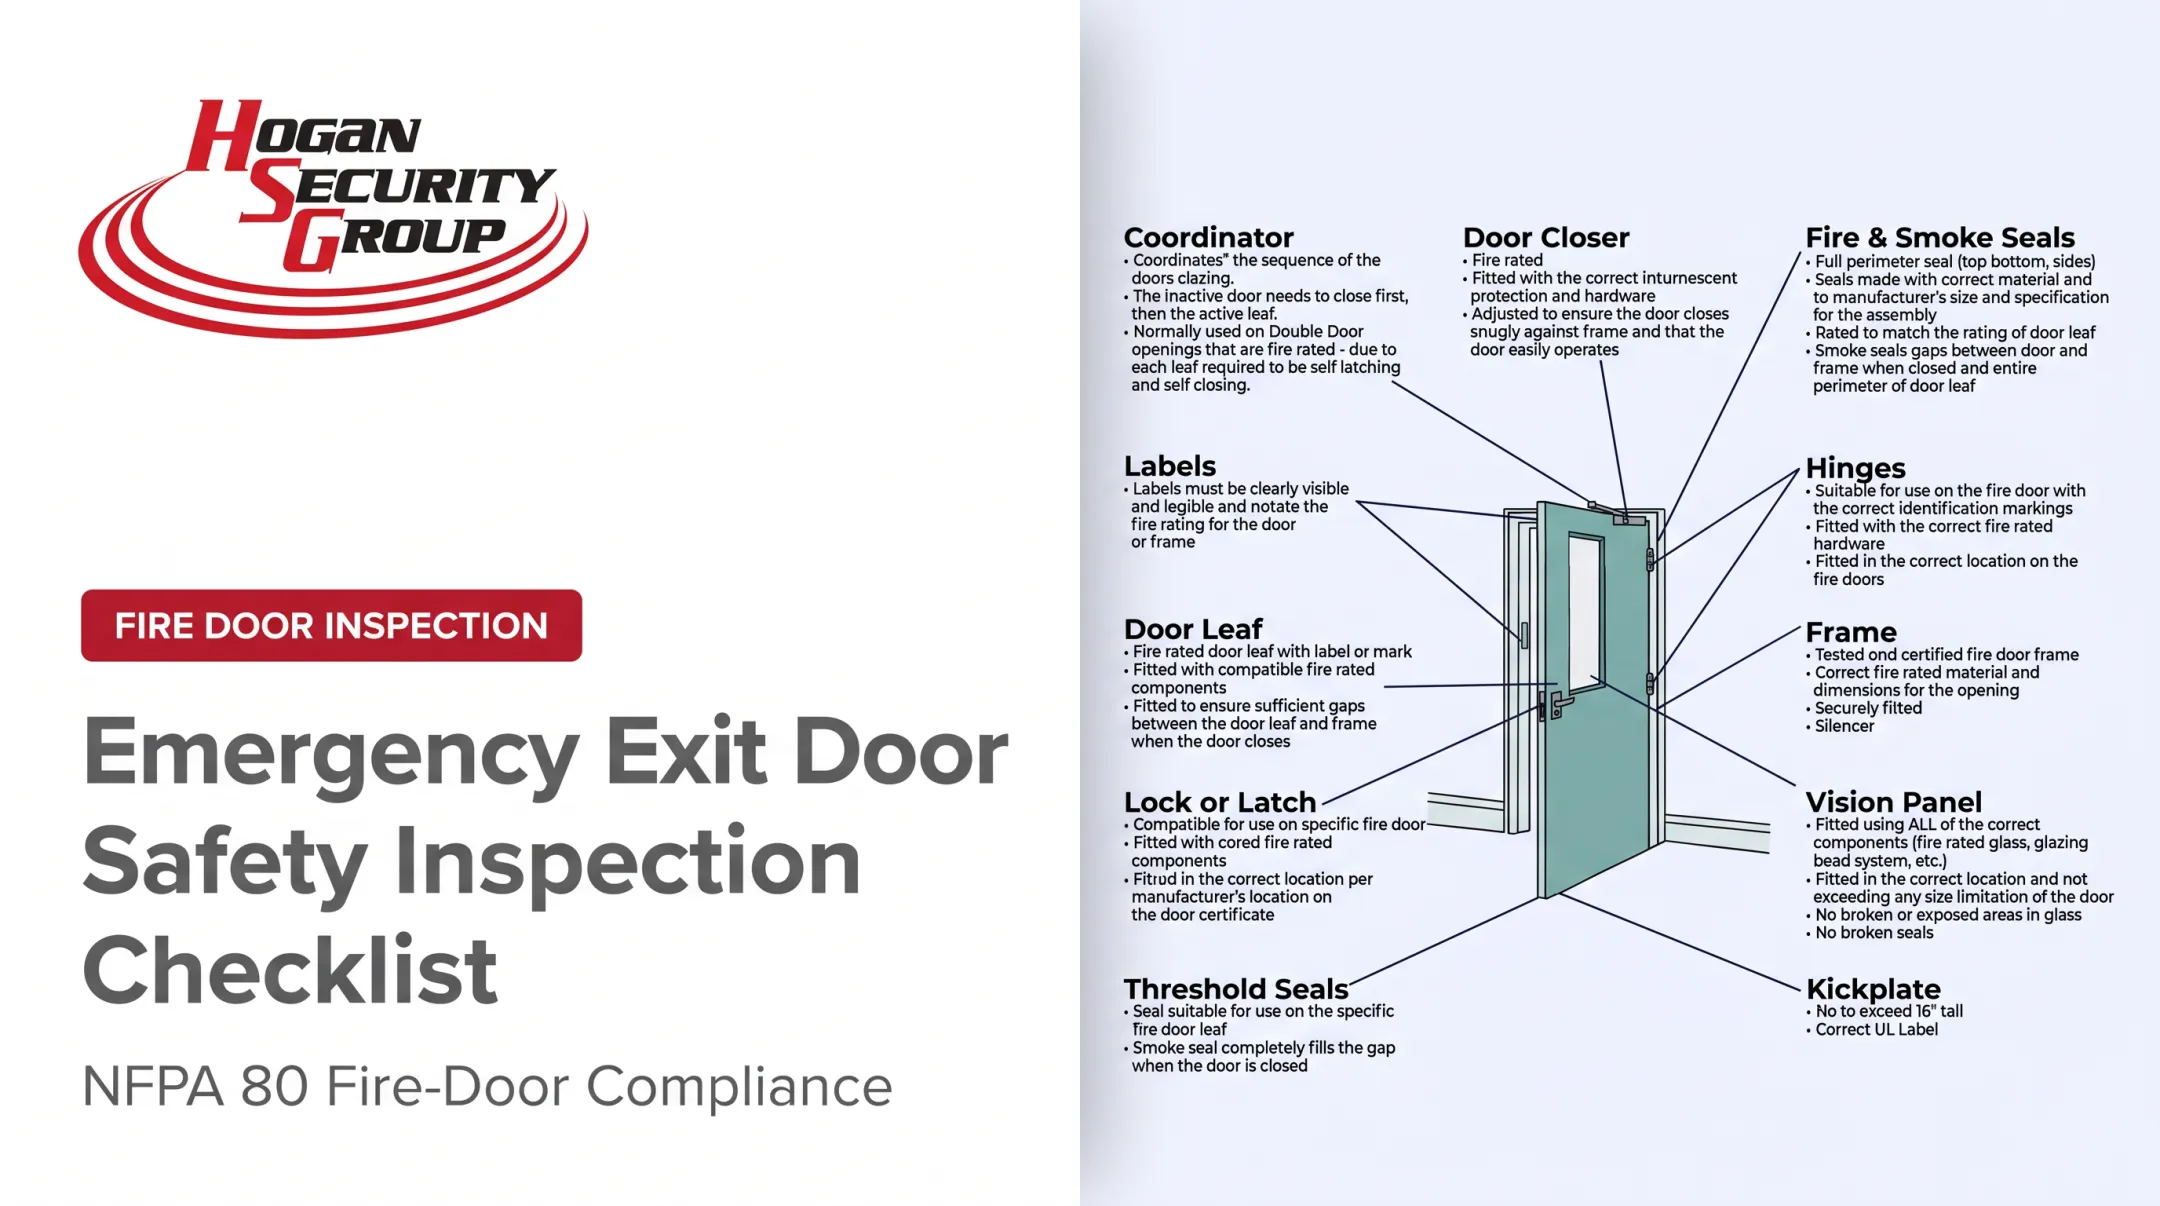
Check the fire rating first. Locate the door and frame labels. If the assembly is fire-rated, only listed fire exit hardware is acceptable, and field modifications that aren't addressed by the manufacturer's instructions can void the listing entirely.
The 2024 IBC requires fire exit hardware on rated openings that also need panic hardware, not merely standard panic listing.
Occupancy and occupant load determine whether panic hardware is required at all. Thresholds differ by occupancy classification and the locally adopted code edition, so confirm the applicable requirement with your AHJ rather than assuming a single national rule applies.
Non-negotiables. Don't proceed if:
- The door or frame is damaged or distorted
- The selected device doesn't match the fire-rated assembly's listing
- The egress path would be obstructed
- Any delayed-release sequence hasn't been approved and tested
Tools and Parts Required
Gather manufacturer-approved components before starting:
- The exit device, mounting brackets, trim, and strike components specified for the opening
- Fasteners, shims, or reinforcement plates approved for the specific model
- Signage and any required power-transfer or monitoring hardware
Typical tools include measuring equipment, a level, drills with model-specified bits, screwdrivers, the manufacturer's installation template, and electrical test equipment for electrified devices. PPE is non-negotiable on active job sites.
Supplied fasteners and templates take priority over substitutes. This matters most on fire-rated or high-traffic openings, where an improvised fastener can compromise both the listing and long-term durability.
How to Install Exit Door Push Bars and Panic Hardware
Follow the device manufacturer's current template and the door's actual condition. Generic drilling dimensions don't transfer reliably between models, so resist the temptation to reuse a template from a different device.
Preparing the installation site. Remove conflicting hardware only after confirming the opening retains compliant egress throughout the work. Secure the area, protect occupants, and preserve door and frame labels.
Before mounting anything new, correct sagging, binding hinges, frame distortion, or threshold problems. Mounting a new device on a door that already doesn't close properly just transfers the old problem to new hardware.
Positioning and securing the device. Transfer the approved template to the correct egress-side face. Establish mounting reference points per the manufacturer, and verify operating height against current accessibility requirements before drilling. Then mount the device, chassis, trim, and end caps with approved fasteners, keeping the bar level and free from interference.
Integrating latches and strikes. Align the latch or vertical rods with the strike so the device releases smoothly and the door closes and latches without excessive force. Paired doors need extra attention to astragals, coordinators, and inactive-leaf sequencing.
If the device is electrified, alarmed, or tied into access control, bring in a qualified electrical technician to coordinate power, fire-alarm interfaces, and fail-safe versus fail-secure behavior.
Initial configuration. Adjust the device, closer, strike, and trim only within the manufacturer's stated allowances. The door should open freely from the egress side and close reliably every time. Confirm any access-control function never obstructs emergency egress, and that delayed-egress sequences are specifically permitted for that occupancy.
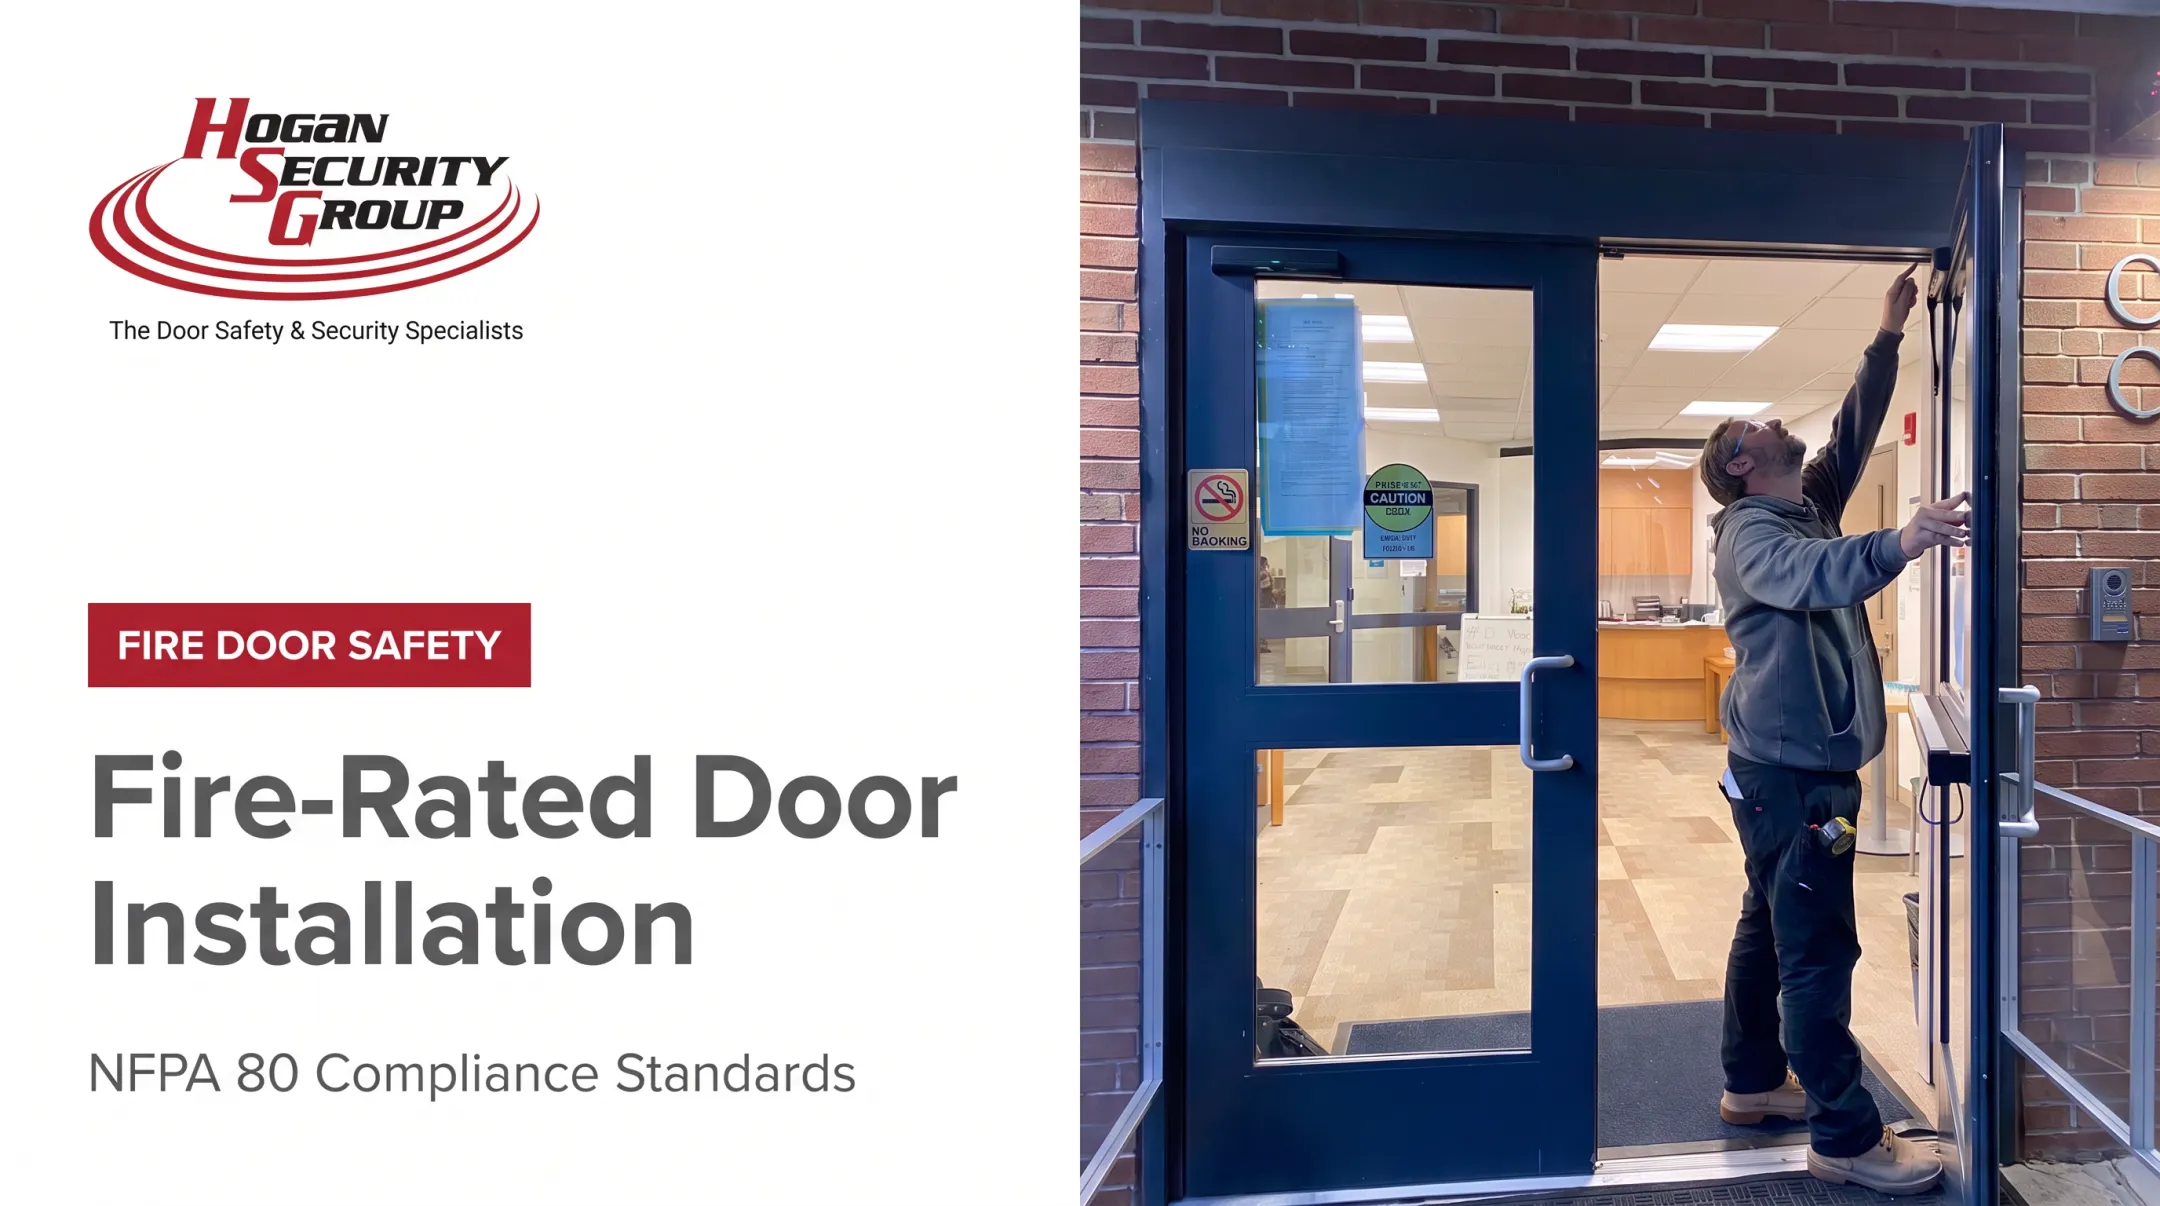
Hogan Security Group's crews saw this play out on a 2025 middle school project. Installing electrified panic hardware alongside horizontal push bars and new overhead closers required syncing the mechanical release with the building's access-control schedule before the doors went back into service.
Post-Installation Checks and Validation
Don't return the opening to service after one successful push-bar test. Validation means repeated operation under realistic conditions.
Run through this checklist:
- Visual and structural inspection - fasteners, mounting alignment, latch and strike engagement, rod clearances, labels, and signage
- Functional testing - smooth release from the egress side, unobstructed swing, reliable closing and latching, acceptable operating force
- System testing - paired-door behavior, alarm annunciation, power-loss response, and emergency-release behavior where those features exist
- Documentation - device model, location, installer, test results, deficiencies, and a recommended maintenance interval
If any test is inconclusive, bring in a specialist before signing off. A surgery center project Hogan Security Group completed in 2025 followed the same approach: fire-rated hardware installed to bring the opening into NFPA80 compliance, with documented testing before the doors were approved for use.

Common Installation Problems and Fixes
Most failures trace back to a mismatch between the device and the opening, imprecise preparation, or skipped testing, not a defective push bar.
Issue 1: The push bar is difficult to operate or won't release
Problem: Excessive force required, dragging latch, or inconsistent door opening.
Likely causes:
- Door sag or frame movement
- Misaligned strike or rods
- Poorly adjusted closer
- Conflicting weatherstripping
Fix: If safe egress is affected, stop using the opening immediately. Inspect the full assembly and correct the underlying alignment issue, then retest against manufacturer and code requirements.
Issue 2: The door closes but doesn't latch
Problem: Door appears shut but the latch doesn't fully engage, or the device feels loose after operation.
Likely causes:
- Wrong strike selection
- Insufficient frame prep
- Loose fasteners
- Incompatible trim components
Fix: Verify the complete hardware set matches door handing and restore proper mounting and reinforcement. Realign the strike or rods, then confirm positive latching across repeated cycles.
Issue 3: Alarm or access-control functions misbehave
Problem: False alarms, inconsistent reporting, or the lock failing to release during an emergency.
Likely causes:
- Incorrect wiring or wrong power supply
- Improper relay configuration
- Untested fail-safe or fail-secure selection
Fix: Have a qualified technician trace the wiring and programmed sequence. Confirm life-safety priority overrides everything else, and coordinate with the fire-alarm and access-control vendors before final sign-off.

Pro Tips for Installing Panic Hardware Effectively
A few habits separate smooth installations from ones that get flagged during inspection:
- Document the opening before ordering hardware. Provide dimensions, photos, labels, existing hardware details, and the intended alarm or access-control function
- Select hardware by application, not appearance. Factor in fire rating, traffic volume, weather exposure, and whether the door is single or paired
- Schedule a controlled access window. Coordinate facilities, security, and affected occupants so the exit is never unavailable without an approved alternative
- Use a commissioning checklist. Cover mechanical operation, egress, alarm behavior, and power-loss response before calling the job complete
- Build a maintenance plan. Watch for loose fasteners, corrosion, and changes in closing force, especially in schools, healthcare facilities, hospitals, and warehouses with heavy daily use
That maintenance point matters more than most facility teams realize. Hogan Security Group's own field data from 2025 found that more than 65% of inspected fire doors failed their annual inspection, often due to issues that started as minor hardware drift.
According to NFPA's 2025 guidance, fire-door assemblies require inspection and testing at installation and at least annually after that, by someone whose credentials the AHJ accepts.

Call in a specialist when the opening is fire-rated, part of a multi-door assembly, tied to access control or fire alarm systems, or facing an inspection deadline. Hogan Security Group assesses, installs, repairs, and services this hardware, backed by a licensed locksmith team and certified fire-door inspection expertise across more than 65,000 doors.
Conclusion
A push bar is a life-safety component. Correct selection, precise installation, system coordination, and documented testing matter as much as the hardware itself.
Before treating this as a simple drilling job, address door condition and compliance gaps first. Hogan Security Group has handled this exact work on middle schools, surgery centers, and firehouses across New Jersey, New York, and Pennsylvania. Reach the team at 609-737-8100 for professional door safety and security support.
Frequently Asked Questions
What is the standard height for installing a panic bar on an emergency exit door?
Operable hardware generally falls between 34 and 48 inches above the finished floor, per current ADA guidance and the 2024 IBC. Always confirm against the manufacturer's template and your AHJ, and make sure the actuating portion stays accessible and unobstructed.
What are the NFPA fire code requirements for emergency exit door push bars?
Requirements vary by occupancy, occupant load, door function, and fire rating, and they shift between code editions. Check the currently adopted NFPA 101 and NFPA80 provisions, the door and hardware listings, and your local AHJ rather than relying on one universal threshold.
Can a panic bar be installed on any door?
Many commercial doors can accept panic hardware, but compatibility depends on door and frame construction, dimensions, handing, fire rating, and any required alarm or access-control integration. Get a professional opening assessment before purchasing or modifying anything.