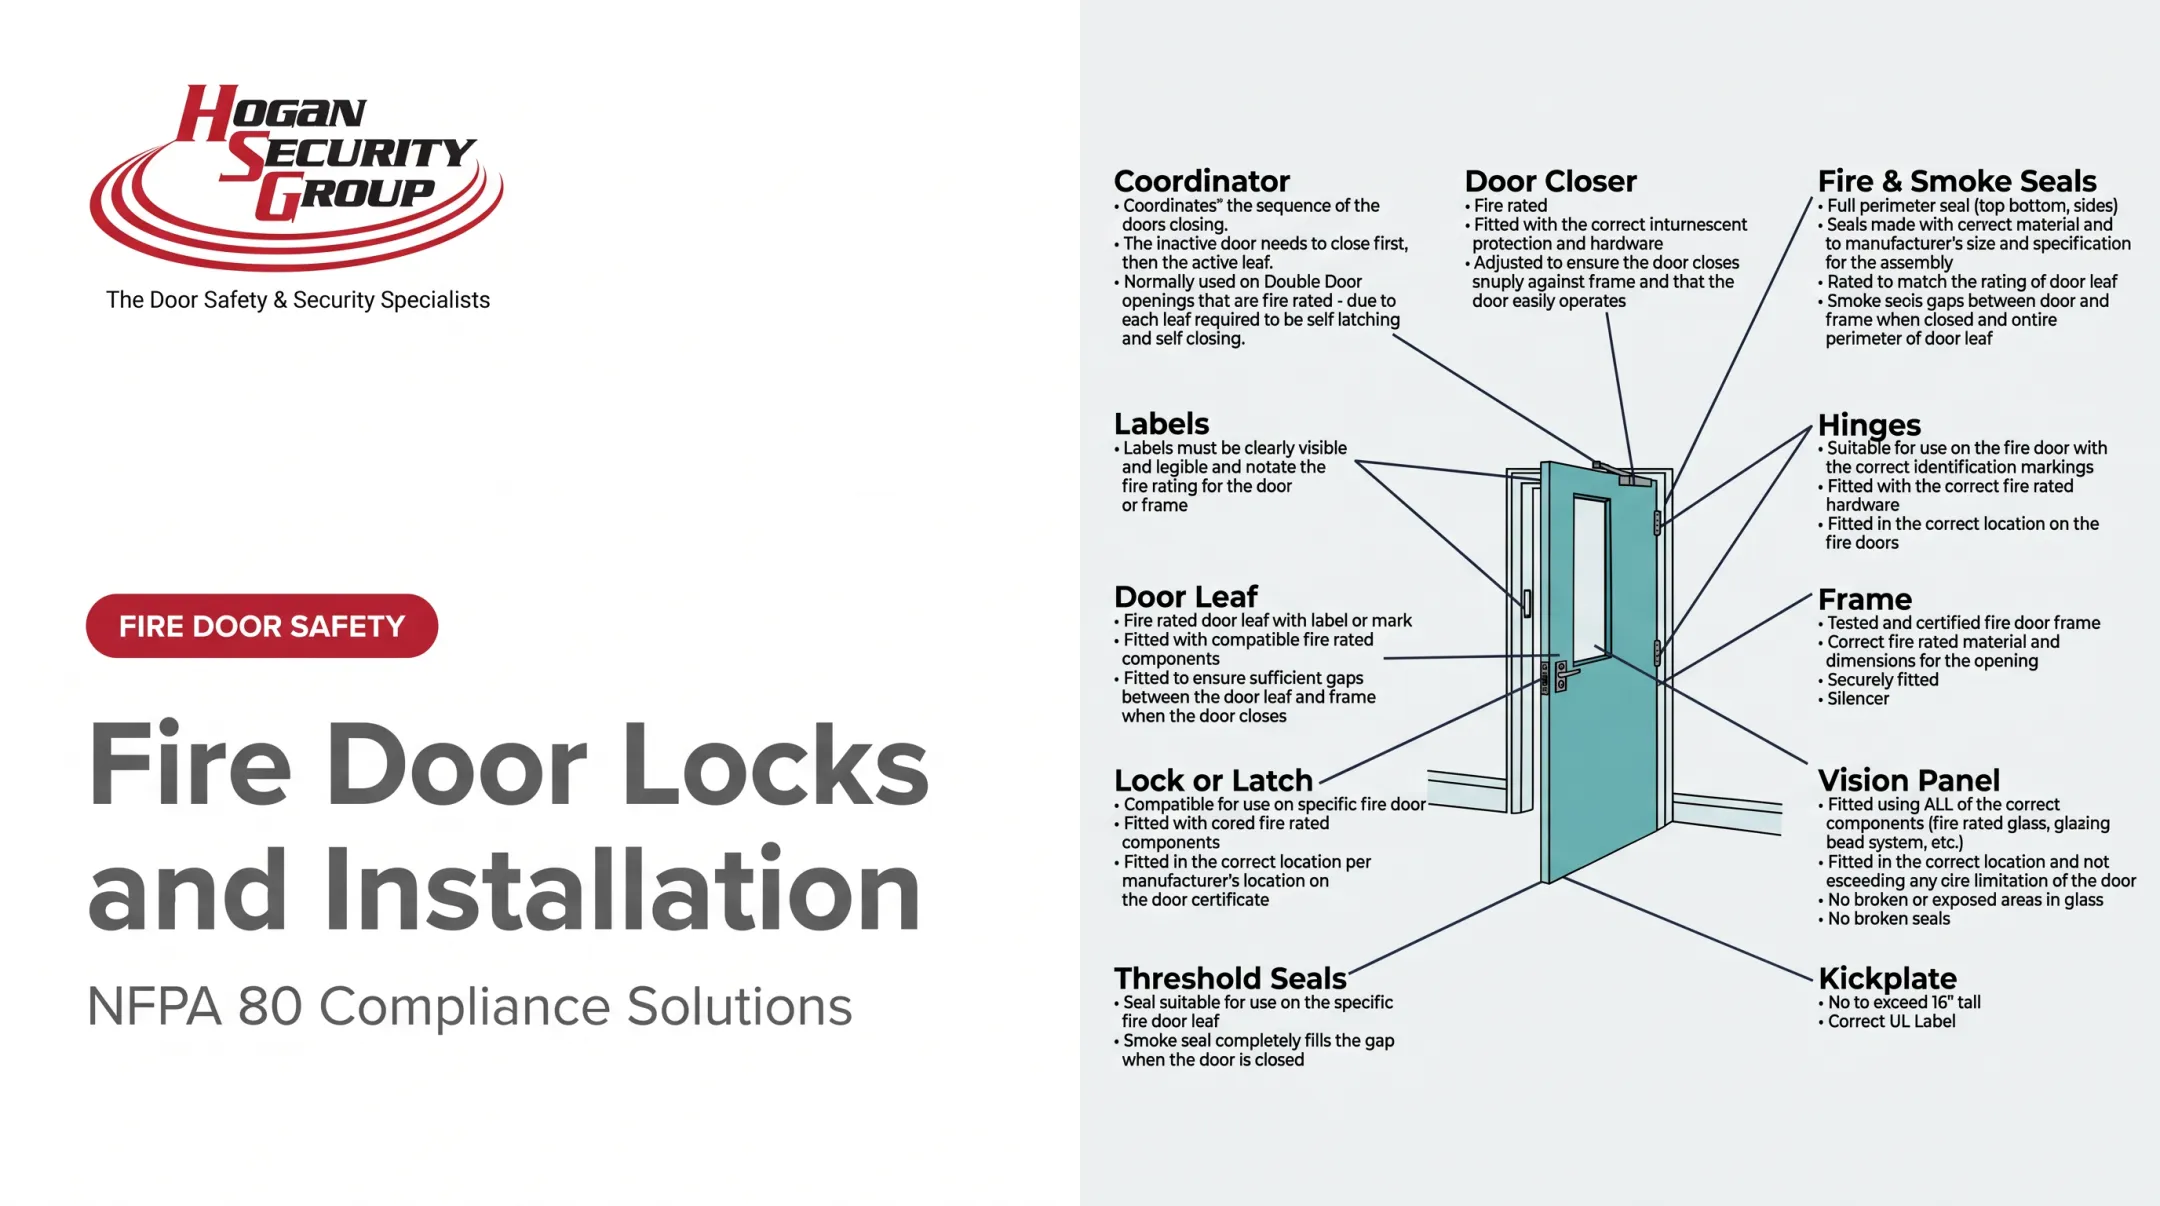

A magnetic lock installation combines precise mechanical alignment, low-voltage wiring, access-control integration, and life-safety considerations, all on a single opening. Get any one of those wrong, and you end up with a door that holds weakly, fails to release during an emergency, or triggers a code violation during inspection.
Experienced maintenance teams can often handle basic preparation work. But commercial installations should generally be completed or inspected by a qualified locksmith, security technician, or licensed electrician familiar with the specific equipment being installed. The stakes are real: incorrect installation can mean weak holding force, unreliable access control, damaged hardware, expensive rework, or a door that won't open when it needs to most.
This guide walks through preparation, mounting, wiring, integration, and testing, in that order.
Key Takeaways
- Magnet and armature plate must meet squarely; align the door and frame before securing anything
- Confirm lock model, voltage, power supply, and door type before drilling or wiring
- Plan exit hardware, emergency release, and fire, electrical, and accessibility checks for every install
- Test credentials, request-to-exit devices, and power-loss behavior before activating the system
Installation Guide for Magnetic Door Locks
The process generally follows four stages: assess the opening, mount the lock, connect and integrate the electrical system, and validate the finished installation. The exact sequence should always follow the manufacturer's instructions for your specific model.
This work requires careful measurement, safe electrical practices, solid knowledge of door hardware, and coordination between the mechanical installation and the access-control or fire-alarm systems it connects to. Skipping coordination is where most problems start.
Prerequisites and Safety Considerations
Before ordering a single bracket, inspect the opening itself.
- Check the door and frame. Inspect hinges, closer, threshold, and wall for sagging, misalignment, weak material, or anything that blocks full magnet-to-armature contact
- Identify the opening type. Single vs. double, swing direction, and construction (glass, hollow-metal, wood, fire-rated) determine whether you need a Z-, L-, or U-bracket or added reinforcement
- Match equipment to the application. Confirm holding force, voltage, current draw, environmental rating, and approved power supply against your access-control system
Commercial magnetic locks vary widely in holding force, from roughly 600 pounds for standard interior glass or wood doors up to 1,500 pounds for high-security applications. There's no universal rating for "interior" versus "exterior" doors; it's model-specific.
Code review matters just as much as hardware selection. NFPA's egress guidance distinguishes between sensor-release and door-hardware-release arrangements, and which one applies depends on occupancy type and the door's role in the means of egress. Research the current requirements for your jurisdiction and consult the authority having jurisdiction rather than relying on a generic rule.
Stop before you drill if:
- The door can't close and align reliably
- The frame can't safely support the hardware
- The wiring diagram for your specific model isn't available
- The power supply is incompatible with the lock's requirements
- The proposed layout could obstruct a required exit route
Tools and Parts Required
Every job needs the manufacturer's lock kit and installation template as the starting point. From there, build out your parts list.
Essential parts:
- Electromagnet and armature plate (matched set)
- Mounting brackets or spacers specific to your door type
- Manufacturer-approved fasteners
- Compatible power supply
- Access-control controller or relay
- Wiring sized for the run length and load
- Exit device and emergency release components
- Door-position or request-to-exit devices, where required
Tools:
- Drill and bits suited to the substrate (metal, wood, or masonry)
- Screwdrivers and hex keys
- Measuring and marking tools
- Wire stripper and crimping or termination tools
- Multimeter
- Wire labels and personal protective equipment
Fasteners and reinforcement must match the door and frame material, not just be selected for convenience. A fastener that works fine in solid wood can strip right out of a thin hollow-metal frame. Separate what the manufacturer requires from what's optional, and don't assume substitutes are permitted without checking the installation manual first.
Step-by-Step Installation Process
This is a high-level sequence, not a replacement for the product manual. Shortcuts around alignment, grounding, polarity, or emergency-release wiring create long-term reliability and safety problems that show up months later, usually at the worst time.
1. Prepare and mark the installation site
Isolate electrical power before beginning any wiring and secure the work area. Use the manufacturer's template to mark the magnet and armature locations on the secure side of the opening.
Position the components so the armature contacts the magnet across its full face when the door closes. Account for swing, frame dimensions, trim, weather seals, glazing, and bracket clearances before you drill.
Plan cable routes from the power supply and access-control equipment to the lock. Keep conductors protected and labeled, and avoid drilling into concealed utilities.
2. Mount the electromagnet and armature plate
Secure the electromagnet to the frame, header, or approved mounting bracket using manufacturer-specified fasteners and any required reinforcement. Thin material or improvised supports won't hold up under repeated cycling.
Attach the armature plate to the door using the supplied hardware. Preserve the designed flexibility in the armature mounting. It needs to settle naturally against the magnet rather than being rigidly forced into alignment.
Close the door slowly and adjust mounting positions before fully tightening anything. The magnet and armature should meet evenly, with no interference from the door, frame, closer, or weatherstripping.
3. Connect the power and access-control wiring
Keep the power source disconnected while terminating conductors. Follow the manufacturer's exact wiring diagram for polarity, voltage, relay contacts, and controller connections, since these details vary by brand and aren't interchangeable.
Verify the power supply can handle the lock plus all connected accessories. Wire gauge and voltage drop matter more over longer runs. IAEI's voltage-drop article outlines the calculation method using conductor length, load current, and circular-mil area, based on NEC resistance tables. Research the correct wire size for your specific distance and load before pulling cable.
Label every conductor and document the final connections as you go.
4. Integrate entry, exit, and emergency-release devices
Connect the reader, keypad, or credential device so an authorized signal temporarily releases the lock. Then install and test the request-to-exit device, push-to-exit hardware, door-position monitoring, and any fire alarm interface the opening requires.
Most electromagnetic locks are fail-safe, meaning removing power releases the lock automatically, as Allegion's fail-safe explainer confirms. That said, fail-safe behavior at the lock is only one piece. The complete emergency-release sequence for the opening still needs confirmation from a safety professional or the authority having jurisdiction.
5. Restore power and configure the system
Inspect terminations, fasteners, cable protection, and bracket alignment before energizing anything. Restore power only once you've confirmed the circuit is safe.
Configure credentials, unlock duration, and monitoring points using the access-control manufacturer's software. There's no universal release-time setting; the correct value depends on the door, the users, and applicable code requirements.

Post-Installation Checks and Validation
Don't skip this step, even on a job that "feels" done.
Visual and structural checks:
- Confirm the magnet is firmly supported and the armature plate is correctly mounted
- Verify the door closes without binding
- Check that wiring is protected and nothing interferes with egress
Functional testing:
- Close the door and confirm the magnet engages fully across the entire face
- Present an authorized credential and operate the exit device
- Verify the door releases and recloses as intended
Fault testing:
- Interrupt power and confirm the lock releases
- Test the emergency release and fire alarm interface, if applicable
- Check request-to-exit operation and door-position monitoring
- Confirm the system recovers correctly once power is restored
Signs of a correct installation include full face-to-face contact, consistent holding force, reliable release, and no intermittent faults. Skipping validation can hide alignment, voltage-drop, or programming problems until the exact moment the door is needed in an emergency.
Common Installation Problems and Fixes
These issues typically surface during commissioning or shortly after. De-energize equipment before making any wiring or mounting changes.
Misaligned Armature Plate or Weak Holding Force
The door appears locked but can be pulled open, or the magnet chatters and holds inconsistently. Common causes include:
- Incomplete contact between the faces
- A sagging door or incorrect bracket placement
- Paint and debris on the contact surfaces
Fix:
- Clean the contact faces and correct door and closer alignment
- Adjust the armature mounting, then retighten or reinforce the hardware
- Verify the magnet and armature are a correctly matched set
- Call a professional if the frame or door structure can't support the assembly
Lock Does Not Release or Releases Intermittently
Valid credentials or the exit device may fail to unlock the door reliably. Likely causes include incorrect relay connections, loose terminations, voltage drop, or faulty access-control programming.
Fix:
- Compare every connection against the current wiring diagram
- Measure voltage at the lock under load, not only at the power supply
- Test each release device independently
- Have a qualified technician correct electrical or programming faults
Door, Code, or Life-Safety Conflict
The lock interferes with the closer, door position, accessibility, or required exit hardware.
Fix: Stop using the opening until a security professional, fire-door specialist, electrician, or the authority having jurisdiction reviews the configuration. Only replace or reposition components with approved, documented hardware.

Pro Tips for Installing Magnetic Door Locks Effectively
A few habits separate installations that last from ones that come back as service calls.
- Survey before you order. Record door material, dimensions, swing, frame profile, closer condition, available reinforcement, and whether the opening sits on a fire or emergency egress route.
- Document everything. Photograph final mounting positions, terminal connections, programming settings, and equipment model numbers for future service calls.
- Use approved components only. Manufacturer templates, approved brackets, compatible power supplies, and labeled wiring save hours of troubleshooting later.
- Plan ongoing maintenance. Periodically inspect contact faces, fasteners, brackets, wiring, and release devices according to the manufacturer's maintenance schedule.
For commercial, public, high-traffic, fire-rated, glass, double-door, or access-control-integrated openings, bring in a specialist.
Hogan Security Group has worked on more than 65,000 doors since 1982, holds a New Jersey locksmith license, and is certified directly with manufacturers including Allegion, dormakaba, Assa Abloy, SALTO, and Genetec.
Technicians are background-checked and trained, and the company also performs NFPA80 fire-door inspections, which matters when a magnetic lock is installed on a rated opening.
Facilities across New Jersey, Pennsylvania, New York, and Connecticut rely on that combination of locksmith licensing and manufacturer certification to keep complex openings compliant.

Conclusion
A magnetic door lock installation succeeds only when mechanical alignment, electrical integration, access control, and emergency-release behavior all work together. None of those pieces can be treated as an afterthought.
Prepare carefully, follow the manufacturer's documentation to the letter, and validate every operating and safety function before putting the door into service. When the opening affects public safety, code compliance, or a complex access-control setup, bring in qualified professional support rather than guessing.
Frequently Asked Questions
How much does it cost to install a magnetic door lock?
Cost depends on the lock and bracket type, door construction, wiring distance, power supply, access-control equipment, and required code-related devices. Get a site-specific quote rather than relying on a generic price online.
What is a MAG lock system?
A MAG lock system, or magnetic lock system, uses an electrically powered electromagnet mounted on the frame and an armature plate on the door. It typically works alongside a power supply, release devices, and access-control equipment.
Do magnetic locks really work?
Yes, when the magnet and armature are correctly aligned, adequately supported, properly powered, and integrated with tested entry, exit, and emergency-release components. Skipping any of those steps undermines reliability.
Do MAG locks have to be on top of the door?
Overhead mounting is common, but the correct position depends on the door, frame, opening direction, bracket configuration, and manufacturer instructions. Not every application uses the same location.
Are magnetic door locks fail-safe?
Most magnetic locks release when power is removed, which makes them fail-safe at the lock level. The complete opening still needs properly designed and tested emergency-release, exit, and fire alarm provisions to be safe overall.
Can I install a magnetic door lock myself?
A technically experienced person may handle a simple installation when fully permitted and supported by the manufacturer's instructions. Commercial or life-safety-connected installations should be completed or inspected by qualified professionals.